Trekking poles (also called hiking poles) are one of the most useful pieces of equipment for mountain treks and long-distance walks in Tanzania. Many first-time climbers on Mount Kilimanjaro or Mount Meru wonder whether they really need them – or if they’ll just end up carrying extra weight.
The short answer: Yes, you almost certainly need them. Trekking poles provide stability, reduce strain on your knees and joints, improve balance on uneven terrain, and help conserve energy over long days of hiking.
At Kilisherpas Travel, we recommend trekking poles for all our Kilimanjaro and Mount Meru climbs, as well as for walking safaris and hikes in places like Arusha National Park or around Lake Natron. Here’s everything you need to know about choosing, adjusting, using, and caring for trekking poles in 2026/2027.
What Are Trekking Poles?
Trekking poles are adjustable or fixed-length poles designed specifically for hiking and mountaineering. They differ from ski poles or Nordic walking poles because they are built to handle rough mountain terrain, steep ascents and descents, and heavy backpacks.
Key Benefits of Using Trekking Poles:
Redistribute weight from your legs to your upper body (reducing knee stress by up to 25%)
Provide two extra points of contact for better balance on slippery, rocky, or muddy trails
Improve stability when carrying a heavy daypack or porter-supported load
Help maintain rhythm and reduce fatigue on long trekking days
Assist with stream crossings, probing snow/ice, and clearing vegetation
Can be used to set up lightweight tents (as tent poles)
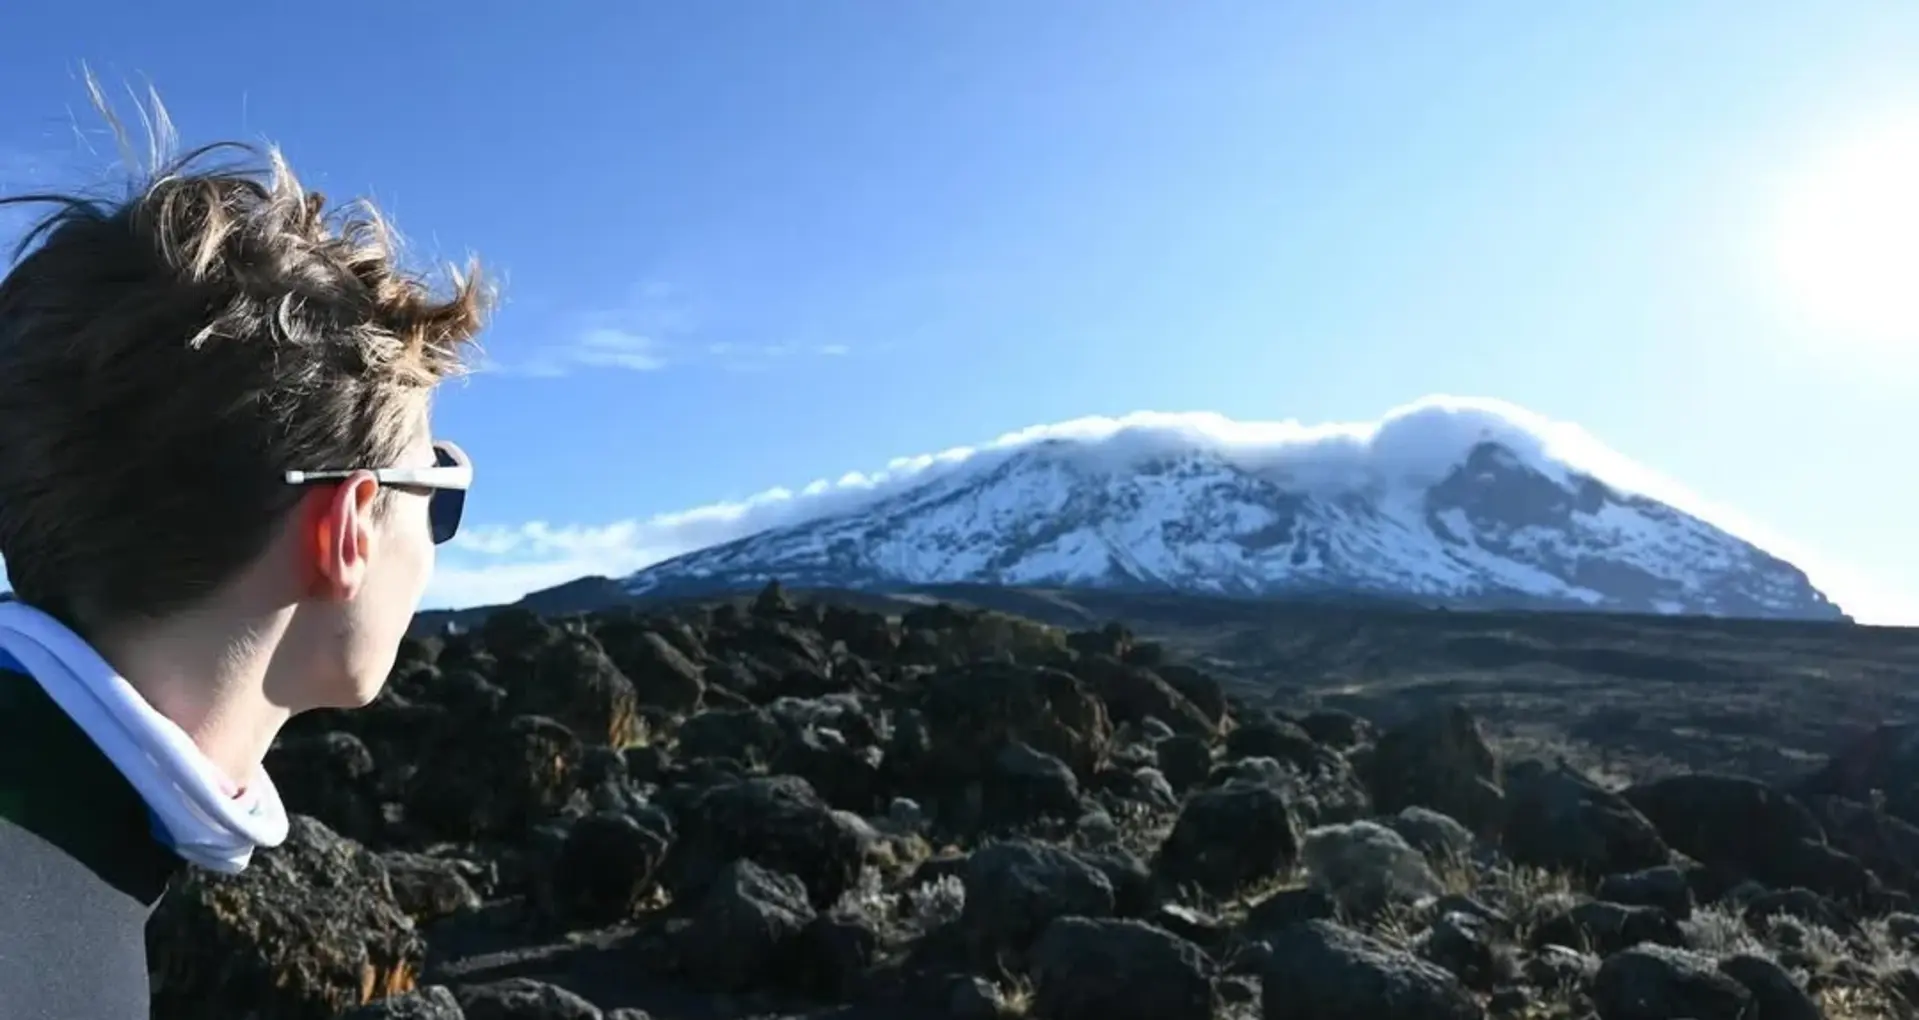
On Kilimanjaro and Mount Meru, poles are especially valuable on steep sections, loose scree, and during the final summit push.
Do You Really Need Trekking Poles on Kilimanjaro or Mount Meru?
Yes, we make them mandatory on all our Kilimanjaro and Mount Meru expeditions.
Why?
The routes involve long days of hiking (6–10+ hours)
Steep ascents and descents, rocky sections, and high-altitude fatigue
Weather can change quickly (rain, mud, cold mornings)
Many climbers carry or are supported with gear that adds weight and affects balance
Even if you feel strong on flat ground, poles become invaluable on the descent (when knees take the most impact) and during the summit night when fatigue and altitude affect coordination.
Many of our clients who were initially sceptical later say the poles “saved their knees” and helped them reach the summit feeling stronger.
How to Choose the Right Trekking Poles
1. Material
Aluminium: Durable, affordable, impact-resistant. Best for beginners and general use.
Carbon Fibre: Lighter, reduces vibration, premium feel. Ideal for frequent trekkers or those wanting maximum weight savings. Slightly less impact-resistant than aluminium.
Recommendation: Start with good-quality aluminium poles. Upgrade to carbon fibre once you hike regularly.
2. Grip Material
Cork: Most comfortable, excellent moisture absorption, reduces blisters.
EVA Foam: Soft, durable, and with good shock absorption.
Rubber: Warm in cold weather but can cause blisters when hands sweat.
Plastic: Avoid – slippery and uncomfortable.
Best choice: Cork or EVA foam grips.
3. Design & Adjustability
Adjustable / Telescopic: Most practical — easy to change length for ascents, descents, and traverses.
Folding / Collapsable: Very compact when packed (great for flights and backpacks).
Fixed-length: Lighter but less versatile.
An anti-shock system (internal springs) is highly recommended for knee protection on long descents.
4. Baskets & Tips
Interchangeable tips (steel/carbide for rocks, rubber for trails/lodges)
Baskets (larger for snow/mud, smaller for general use)
How to Adjust Trekking Poles Correctly
Basic Rule: When the pole tip is on the ground, your elbow should form a 90-degree angle.
Adjustments for Different Terrain:
Flat ground: Standard 90° elbow angle
Uphill: Shorten poles slightly
Downhill: Lengthen poles
Traverse (side-hill): Upper pole shorter, lower pole longer
Practice adjusting them quickly before your trip.
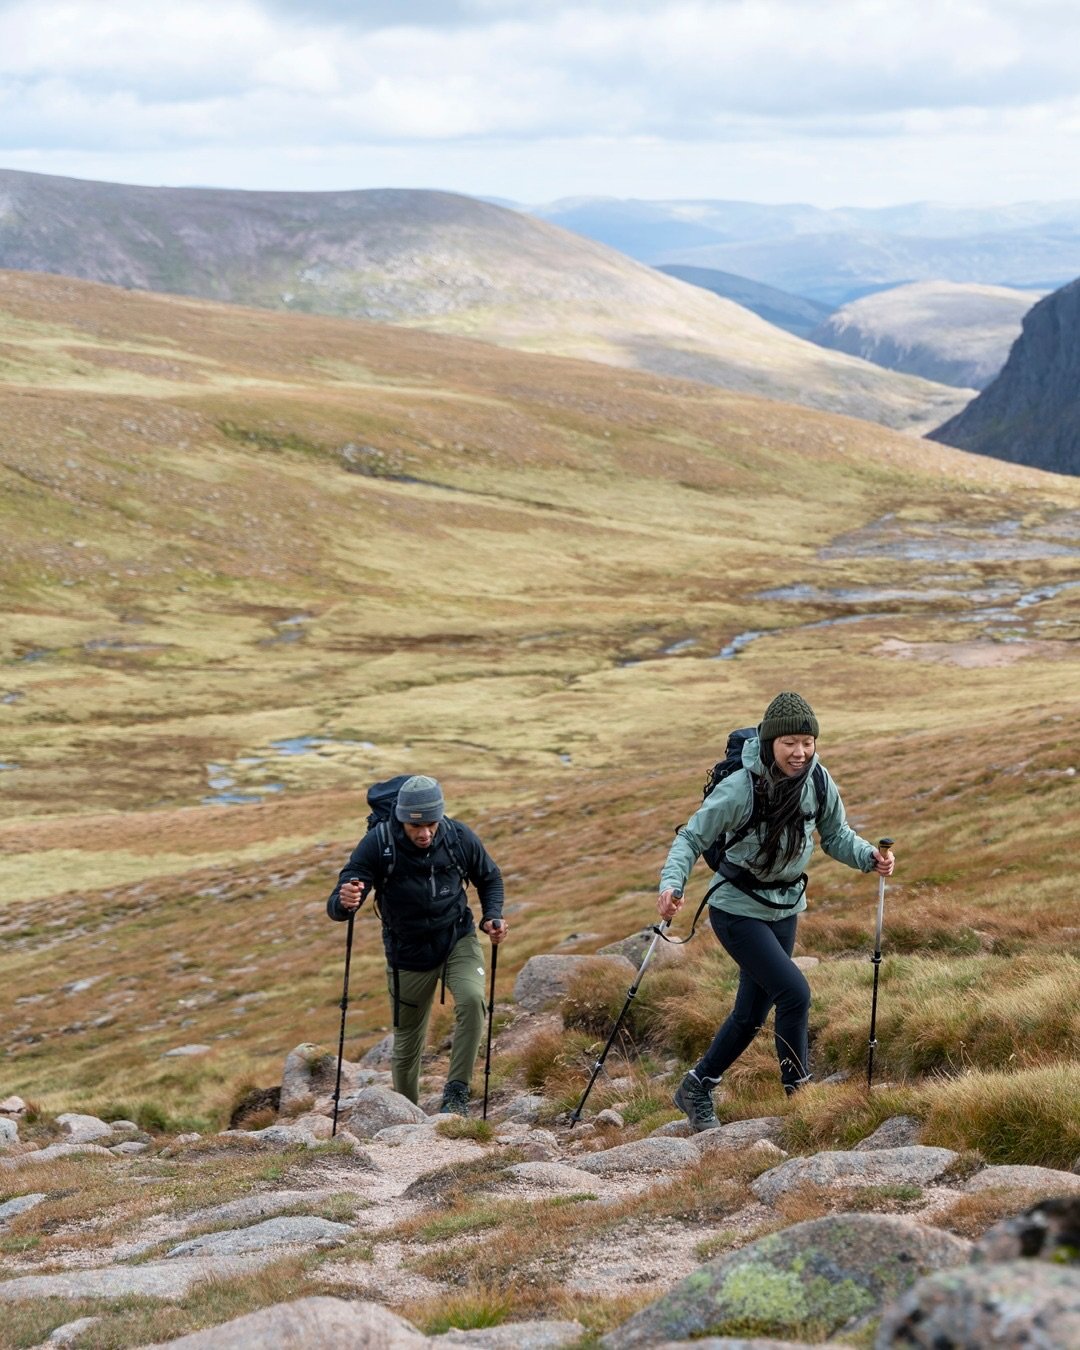
Proper Technique for Using Trekking Poles
Opposite arm and leg: Right pole with left foot, left pole with right foot
Plant the pole slightly behind your forward foot and push forward (like rowing)
Grip: Relaxed — let the wrist strap do most of the work
Wrist strap: Insert hand from below, then grip so the strap supports your wrist
On steep sections: Sometimes it’s safer to put poles away and use hands for balance.
Storage, Care & Transportation
Clean and dry poles after each use
Lubricate locking mechanisms occasionally
Store collapsed or folded in a dry place
For flights: Use collapsible/folding poles or check with airline (many allow them as checked baggage)
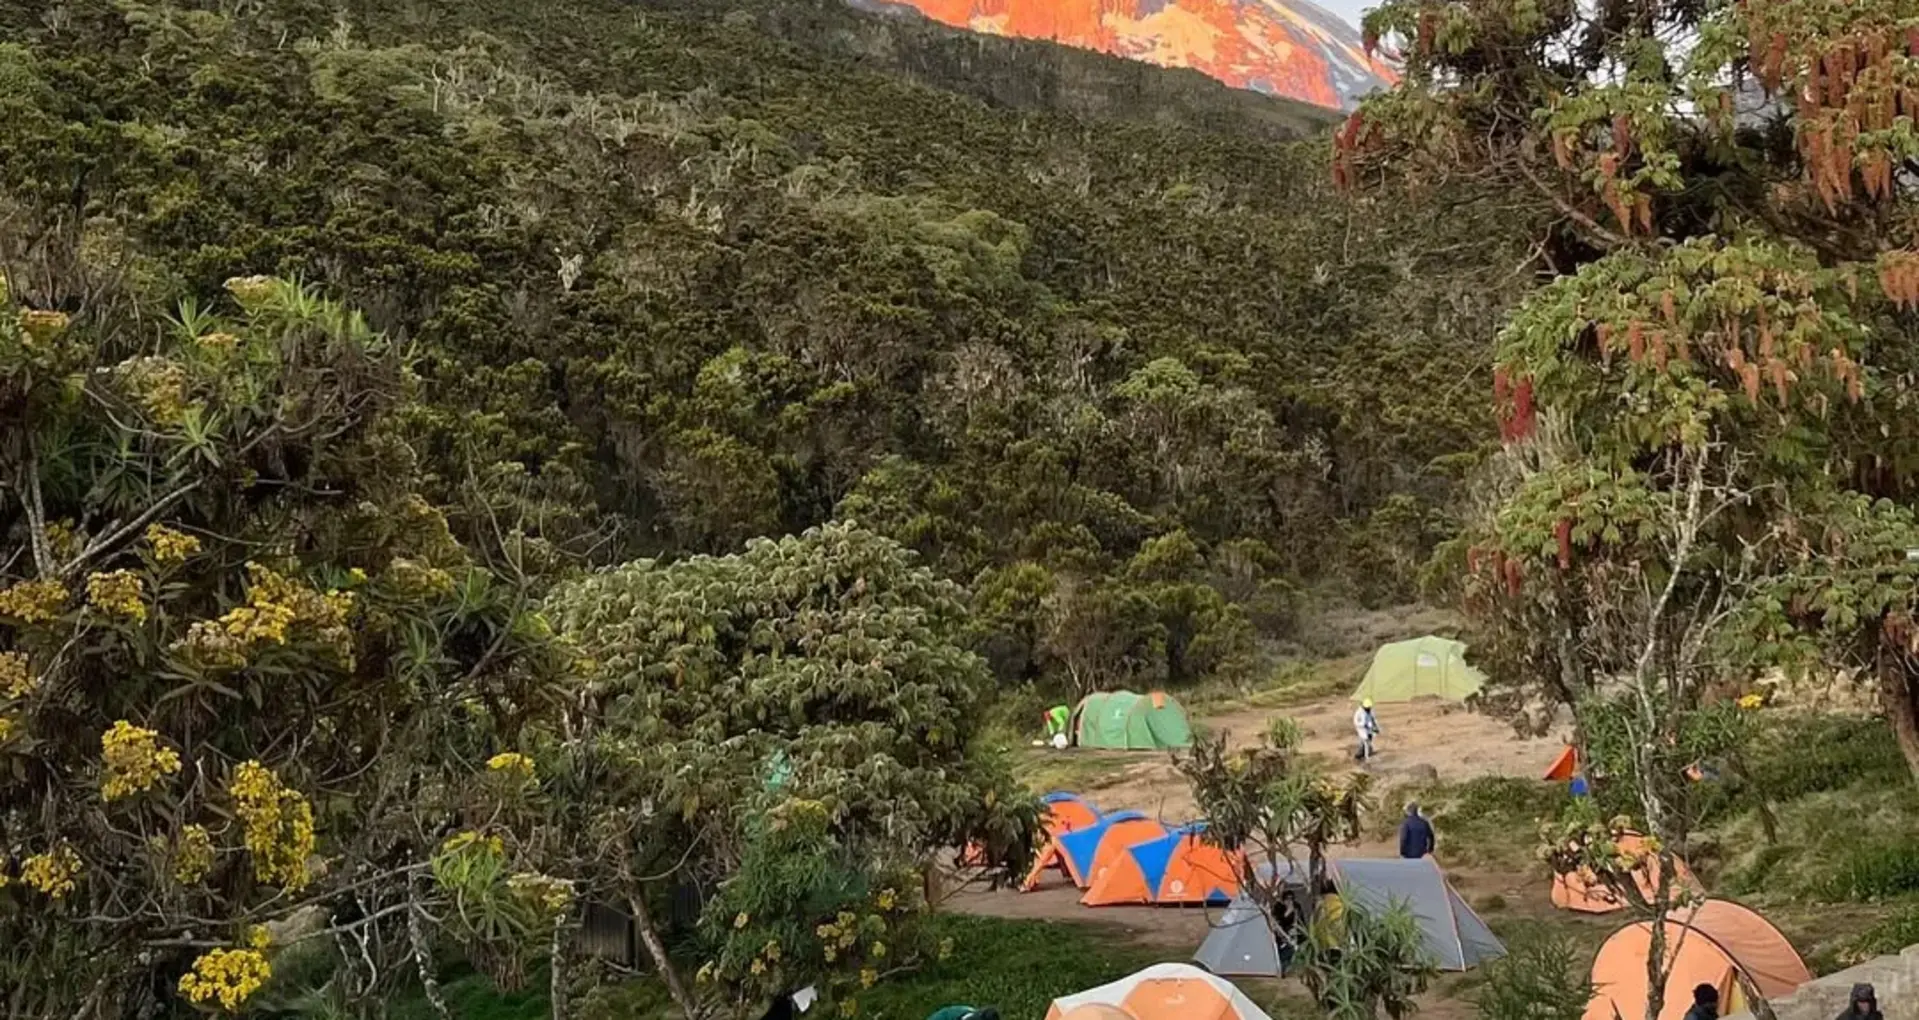
Trekking Poles on Kilimanjaro & Mount Meru
We provide high-quality Black Diamond trekking poles (or equivalent) to all clients who don’t bring their own. They are mandatory on our expeditions because they significantly improve safety and comfort, especially on the summit attempt and descent.
Final Recommendation from Kilisherpas Travel
If you’re planning any serious trekking in Tanzania – whether climbing Kilimanjaro or Mount Meru or doing multi-day hikes — bring or rent good trekking poles.
They may feel unnecessary at the beginning, but on steep, rocky, or slippery sections (especially when tired or carrying a pack), you’ll be very glad you have them.
Ready to prepare properly for your Tanzania adventure?
Contact Kilisherpas Travel for expert advice on gear, including trekking poles, for your 2026/2027 Kilimanjaro, Mount Meru, or safari trip. We provide full gear guidance and can arrange quality poles if needed.